
Traction pads are a key surf accessory that VEIA Supplies has fine tuned to fit your surfboard perfectly and work better. Unless your name is Mason Ho or you just prefer a natural feel, traction pads are a necessity to any high performance surfboard because they allow & increase a consistent grip to the backfoot (or front foot if you’re using a front pad) which is normally where you’ll be pushing the hardest and need that extra grip the most.
Tail traction pads will sit near the tail of your surfboard and also help guide your foot to the right area of your board without having to look down at it. All VEIA traction pads are made out of Eco-EVA foam and packaged in our VEIA recyclable packaging, but each pad features details that can set them apart and narrow in the perfect pad for you. Read below to learn how to apply a traction pad or watch out How to Apply a Traction Pad video on youtube.
HOW TO APPLY A TRACTION PAD
STEP 1
If your board is brand new you should start with wiping down the tail area with a dry towel to remove any dirt or dust that might have accumulated. If your board is used, be sure to clean off any wax with a scraper and Coal wax remover. If your board was used you can take light sand paper to the area you’ll be placing the pad. This will ensure the pad adheres to the board better by removing any excess dirt you might not see on the board.

STEP 2
Grab your new VEIA traction pad and toss its recyclable packaging in the recycle bin! You’ll start placing your traction pad on the tail of the board without removing any of the backing yet. This step is to finalize your desired placement.
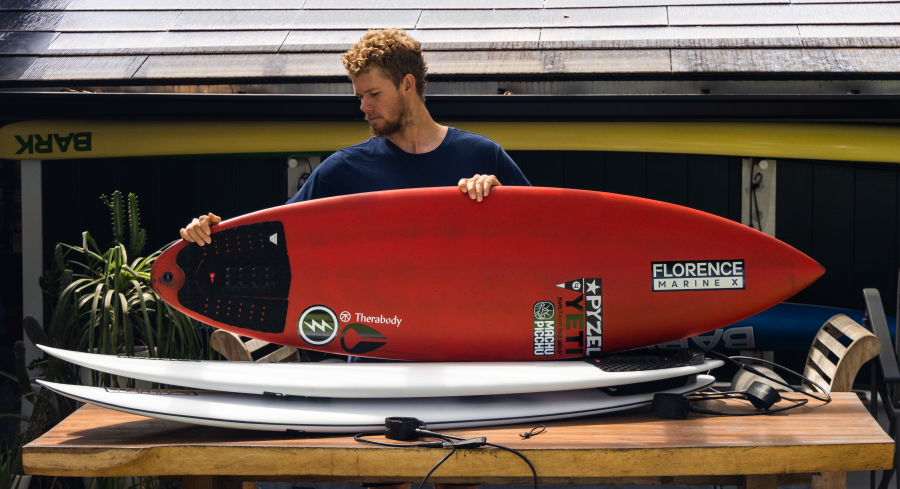
You should use the stringer as a center reference point on the pad and the leash plug as another reference point for how far back you want to go. Traction pad placement is based off personal preference but we recommend following John John’s preference of ½” from up from the leash plug (see picture below).

STEP 3
Now that you’ve found your desired traction pad placement you’re ready to stick it down. There are 2 main methods to go about this. The best way is tracing your pad outline with a pencil on the board to give yourself obvious boundaries when placing each piece.
You’ll start with the middle piece, simply peel the 3M backing and place the top down against your outline, pushing it down and moving towards the bottom until the entire center piece is attached to your board. Then you can move on to doing the same with the side pieces. You can choose to peel the whole 3M backing off from the start or by peeling it as you stick the pad on from top to bottom.

